

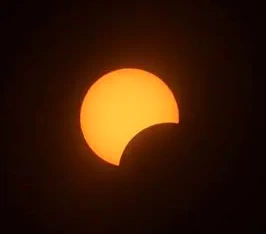
August 12th eclipse
On 12th August, a total eclipse of the Sun will sweep through Iceland then on across the Atlantic Ocean before ending in Spain.
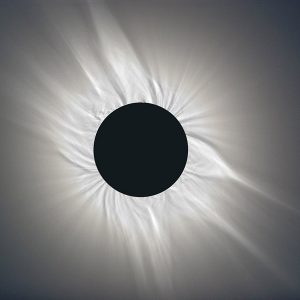
In the UK we’ll see a significant 90% eclipse.
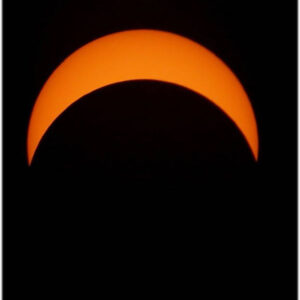
In this blog we’ll give advice on how to see the August eclipse safely.
Danger!
Looking at the Sun can cause damage to our eyes.
That’s particularly true if we use an instrument, like a telescope or binoculars.
Even a brief accidental exposure can cause permanent eye damage.
A few years ago this was brought home to me in dramatic fashion.
I set up binoculars to observe an eclipse safely, by projection.
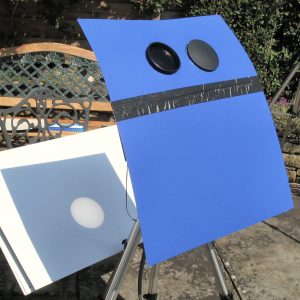
By accident, I left the eyepiece cover on the eyepiece.
In a few seconds, solar heat had burned a hole in the plastic.
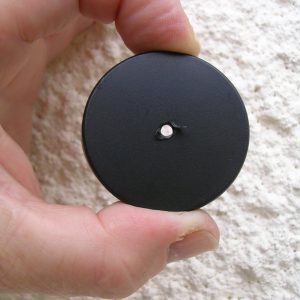
Imagine if that had been my eye!
The danger is real. Sunlight can damage your eyes.
So let’s take a look at various ways we can observe the eclipse in safety.
1. Eclipse spectacles
This is a safe and easy way to see the eclipse.
Eclipse spectacles take out most of the Sun’s light – and importantly it’s heat.
Sunglasses do not work!
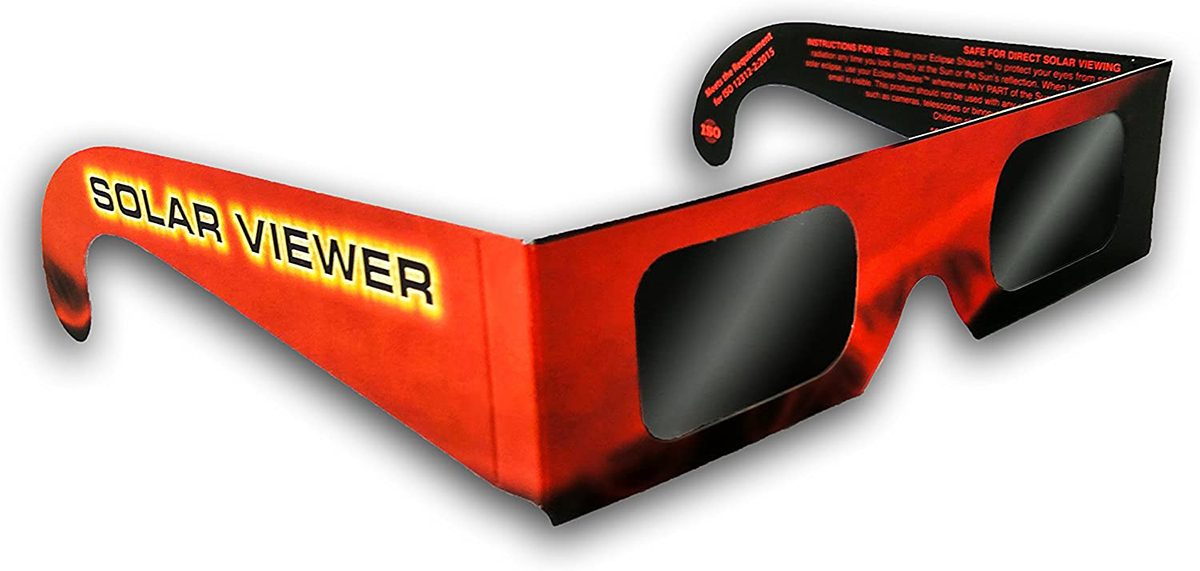
Some eclipse specs have black filters, others are silver.
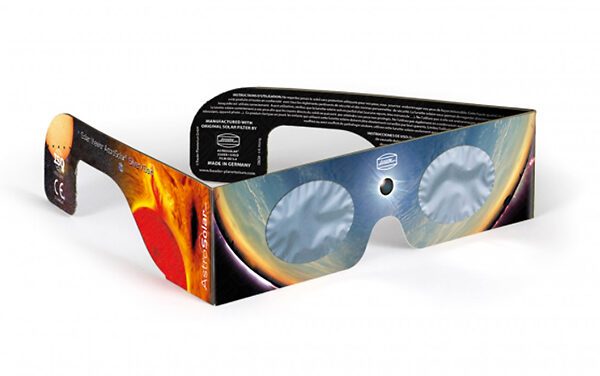
Whatever you buy, they must have the ISO 12312-2:2015 certificate.
Eclipse specs are available online from Amazon and astronomical supply companies.
They’re inexpensive at around £2.00 per pair.
Some come in packs of five or ten so you can hand them out to family and friends.
There’s more detail here at Sky at Night magazine.
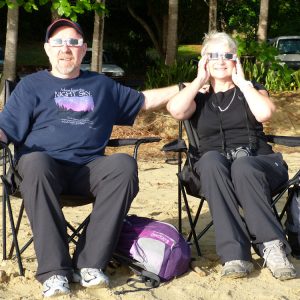
Total eclipse, Australia, 2012
Please don’t use eclipse specs to cover your smartphone lens to take photographs.
They are not designed for camera lenses.
Some eclipse specs come with a separate smartphone filter.
Otherwise, please use a mylar filter sheet.
You’ll find details in the photography section near the end of the blog.
2. Pinhole Camera
This is the first of our projection methods.
You will need:
A cardboard box
White paper or card
Aluminium foil, baking foil
Scissors and pin.
Glue or sticky tape.
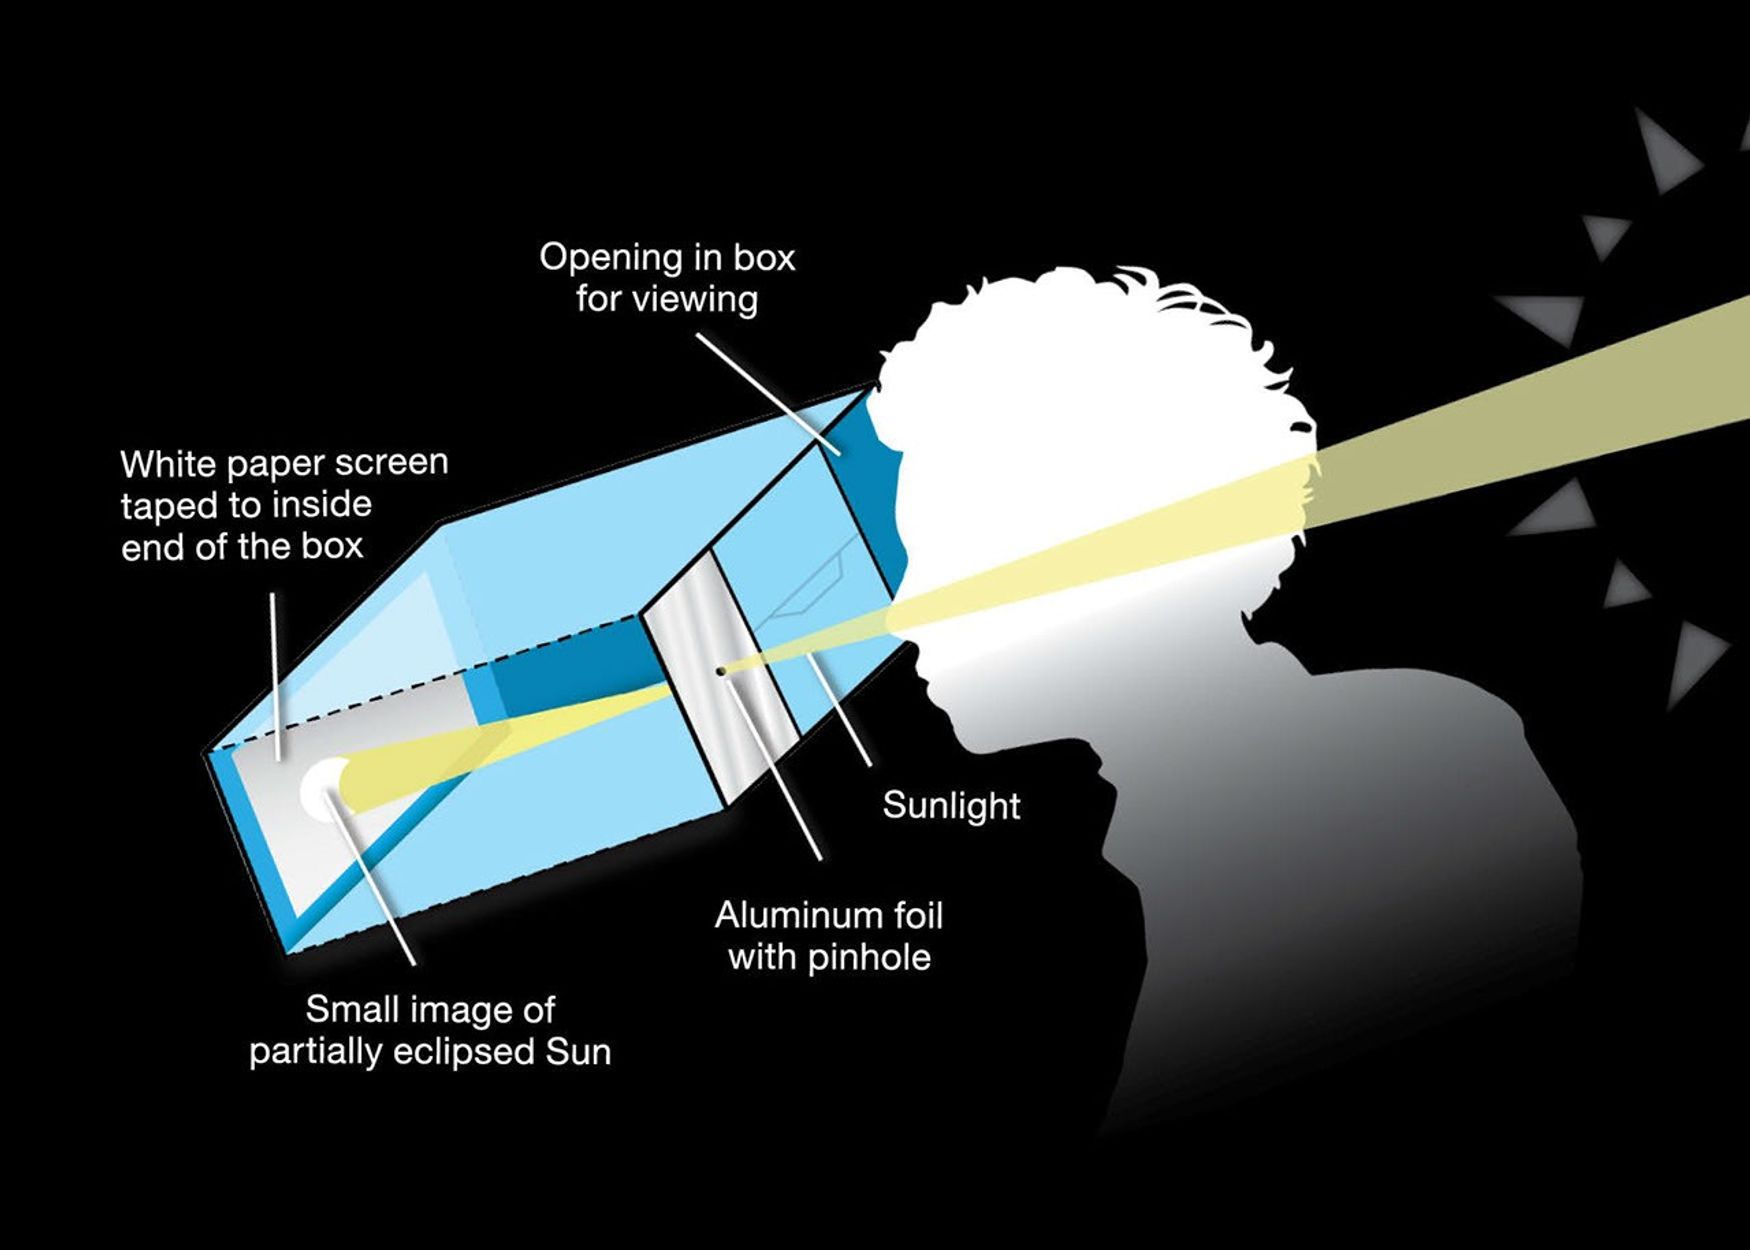
Projection box: NASA
Here’s what to do.
Glue a piece of white paper to the inside of one end of the box.
On the opposite side, cut out a horizontal slit.
Stick a piece of aluminium foil over the left hand side.
Make a pinhole in the foil in line with the slit.
The hole should be small, 1 or 2 millimetres wide, a real pinhole.
The NASA drawing above is your guide.
You can then stand with your back to the Sun.
The pinhole will focus sunlight onto the card screen.
Looking through the slit, you’ll see an image of the Sun’s disc.
But the image is very small.
You might want something bigger and easier to see.
3. Flat mirror projection.
This takes more preparation but the final image can be big.
Here’s what you need:
A flat mirror (eg) handbag mirror, bathroom mirror.
Duct tape or black paper & cellotape.
A large (A4) piece of white card.
And here’s what to do.
Cover the flat mirror with card or duct tape.
Leave a small gap in the centre of the mirror, no larger than 1 centimetre across.
That small gap is your Sun refelctor.
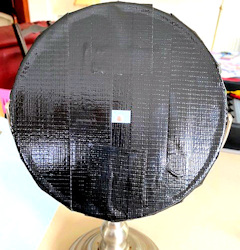
Bathroom mirror with reflecting gap
Then stand your mirror in sunlight so that it reflects a beam of sunlight into a shaded place.
I used the shady side of the house.
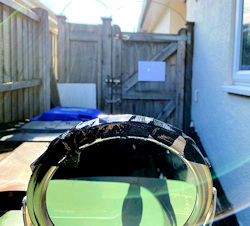
Mirror reflecting into the shade.
Stand or fix the white card at least 5 metres from the mirror.
That’s your screen.
The longer the distance, the bigger the image will be.
Move the mirror until the Sun’s disc is projected on to the screen.
You are eclipse ready, this time with a big image.
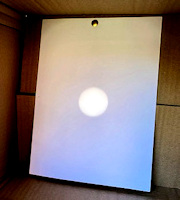
You will have to twist the mirror occasionally to follow the Sun.
A bathroom mirror with a swivel base is ideal.
4. Projection through binoculars or telescope
This is probably the best of the projection methods.
You will need:
A pair of binoculars or refractor (lens) telescope
Tripod
2 large pieces of white card.
Here’s what to do:
Cover the left lens of the binoculars with the lens cover.
Your binocular becomes monocular, like a telescope.
The right hand lens has a focussing grip at the eyepiece.
Then fix a white card over the front of the binoculars (or telescope).
This creates a shade for the projected image.
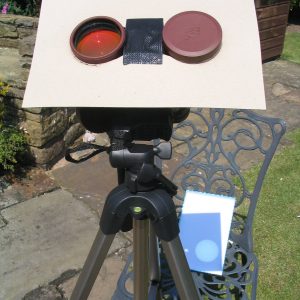
Front set up
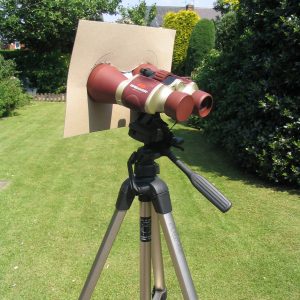
Set up seen from the observer’s standpoint.
Place a piece of white card behind the binoculars or telescope.
Then tilt and rotate the tripod until an image of the Sun is projected on to the card.
Focus the binoculars using the twist grip at the eyepiece end.
Projected image using binoculars
The picture above shows a clear, bright image of the Sun.
The photo below shows the set up during a partial eclipse.
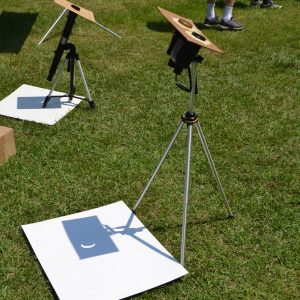
Again, you will have to follow the Sun’s movement across the sky.
Of all the projection methods, this gives the brightest large image.
Photography
Projected images through binoculars or the mirror projection method are good for photography.
You can see that from my photos in the blog.
But you might want to take direct photographs with a camera.
DSLR camera
For direct photography, you will need a sheet of mylar solar fiter.
Mylar is an aluminised polyester film material.
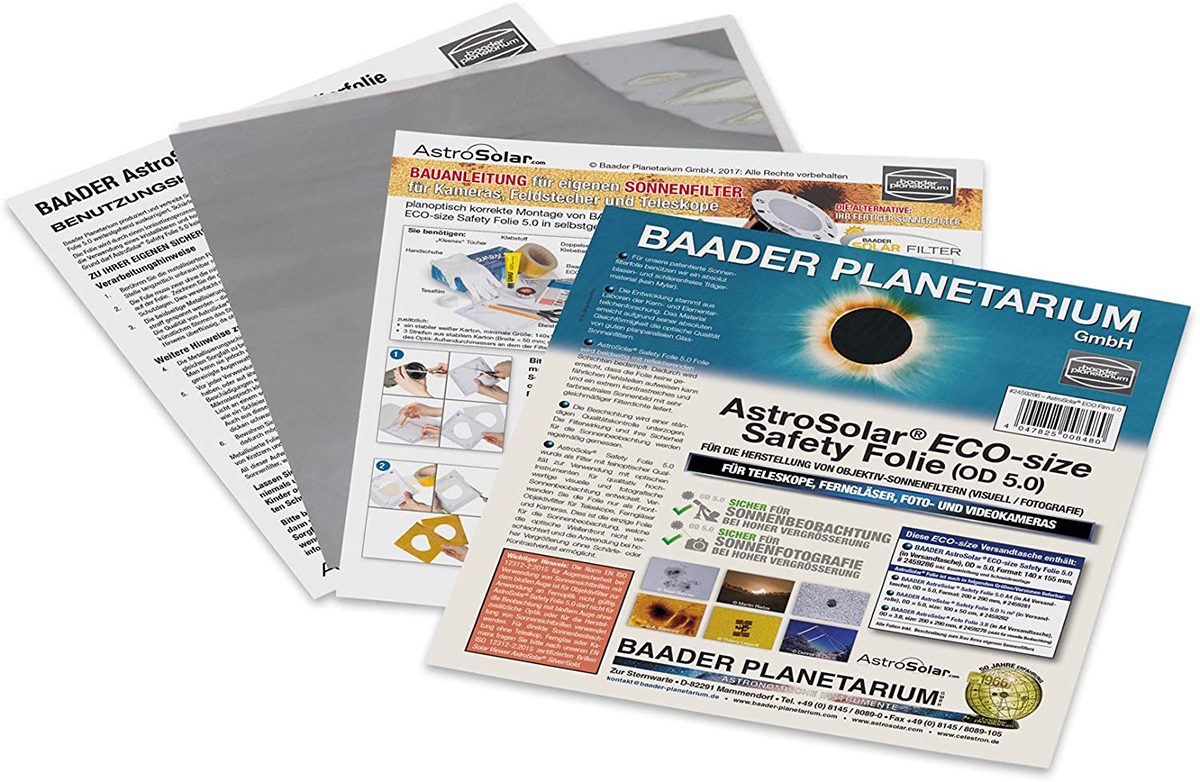
This aluminised filter is like kitchen foil.
Fastened over a camera lens, it acts like eclipse specs for our eyes.
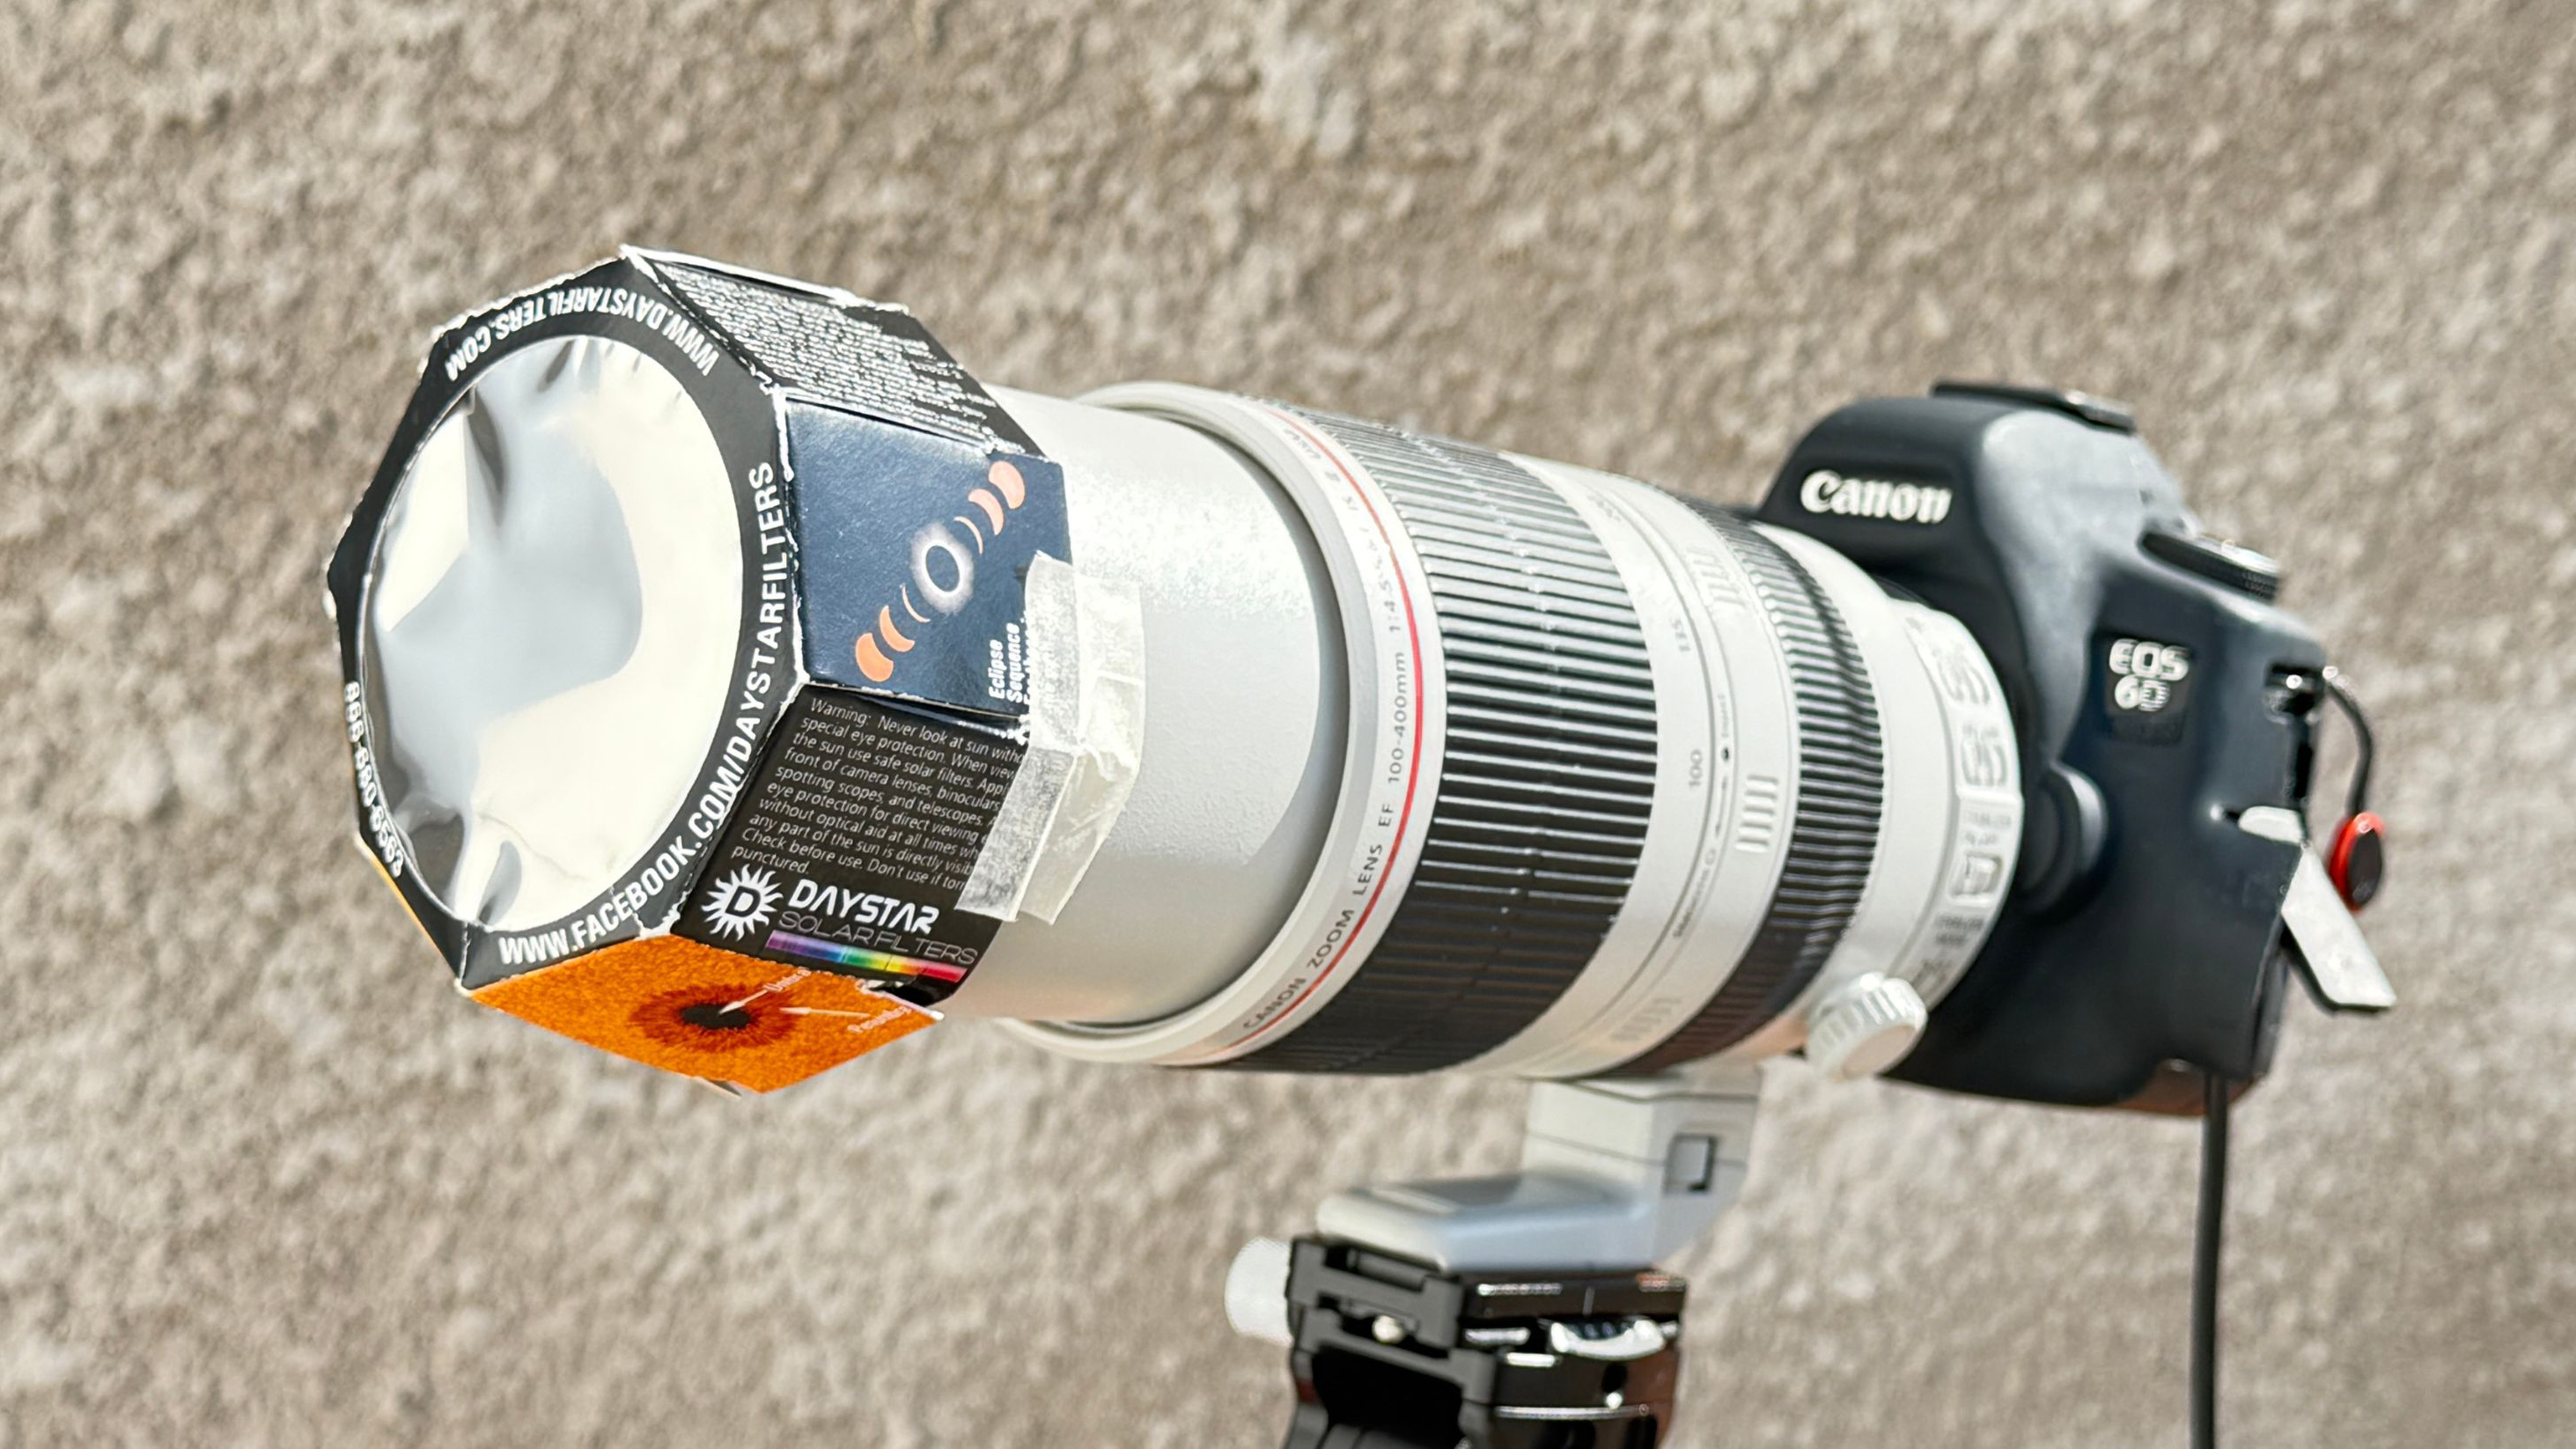
Camera with mylar solar filter
Filter sheets are available from Amazon and telescope retailers.
There’s detailed advice on solar photography at sites like B & H Photo.
Smartphone photography
You can photograph the eclipse with a smartphone.
Again, you’ll need a mylar filter to fit over the camera lens.
My Helioclipse specs came with a smartphone filter.
I cellotaped the filter to my iphone and set it up on a tripod.
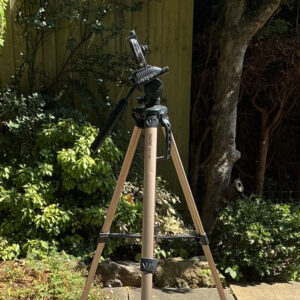
The tripod holds the phone steady and helps track the Sun.
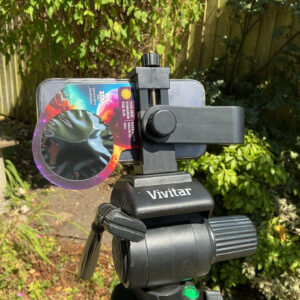
You need a smartphone holder to fit the phone to the tripod head.
Then you move the tripod head until an image of the Sun appears on the screen.
Take your photo!
The image will be small, so experiment with the zoom to get a bigger image.
Practice photographing the Sun on days before the eclipse and you’ll be ready for August 12th.
Be Prepared!
That advice goes for all your preparation to observe the eclipse.
Get everything ready before the day and practice getting images of the Sun.
On eclipse day you’ll be ready to record this rather remarkable astronomical event.
It’s coming to your sky on August 12th!
We’ll preview the day in our next blog.
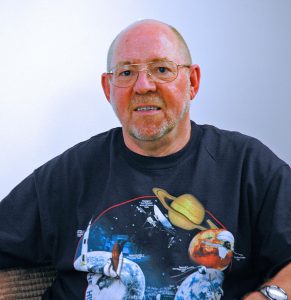
The author: Dennis Ashton, MBE, is a Fellow of the Royal Astronomical Society and a Wonderdome presenter.
In 2024, Dennis received the Special Contribution award from the British Association of Planetaria.
In 2025 he became a Member of the Order of the British Empire for over 50 years work in Astronomy Education.
WonderDome: Leading the Way in Mobile Planetariums
WonderDome offers a fully immersive experience, taking you on a journey through the cosmos. Perfect for all ages and abilities. We now boast a team of 15 presenters, located all over the UK, establishing us as the largest – and best – mobile planetarium organisation in the UK.
Stay Connected for Astronomy News and Events Follow WonderDome mobile planetarium on Twitter / X, Facebook, Instagram and TikTok to stay up to date on the latest news, shows and offers. Or visit our website at wonderdome.co.uk.
WonderDome is part of the Service4Education Group